- Consulting
- Training
- Partners
- About Us
x
In the current world of API, every mobile application and website have to communicate using dedicated API servers. These dedicated servers are explicitly set to handle the API calls for an application. API servers act as an intermediary between the application and the database. The bottleneck of this setup is that the API server has to be maintained to handle all the API calls. The increase in the number of API calls, increases the load of the API server which may require auto-scaling, which is cost-consuming.
The latest approach of the best architects is to utilize a new AWS service that explicitly replaces the need for a dedicated API Server. AWS API Gateway provides the ability to act as an interface between application and database which uses AWS Lambda function as the backend.
To get the essence of AWS API Gateway, we need to get hands-on with it. The next part of the blog is a detailed tutorial on how to use AWS API Gateway along with AWS Lambda & DynamoDB.
People who are familiar with DynamoDB, API Gateway and Lambda can proceed with the high-level instructions. Also for people who are new to these services, there are detailed instructions which can be followed for step-by-step guidance.
The first step will be to create a DynamoDB table which stores the data. Next a Lambda function which inserts the data into DynamoDB table. An API Gateway is setup to trigger the Lambda function. Finally a REST Client will be used to call the API.

Create a DynamoDB table named Employee with the attributes of primary key as emp_id. Accept the rest of attributes as default and review the table details.
[showhide type=”dynamodb” more_text=”For Detailed Instructions..” less_text=”Hide Details” hidden=”yes”]


[/showhide]
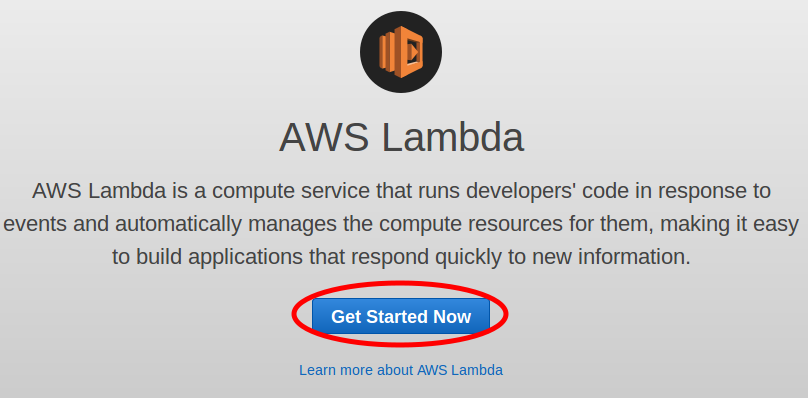
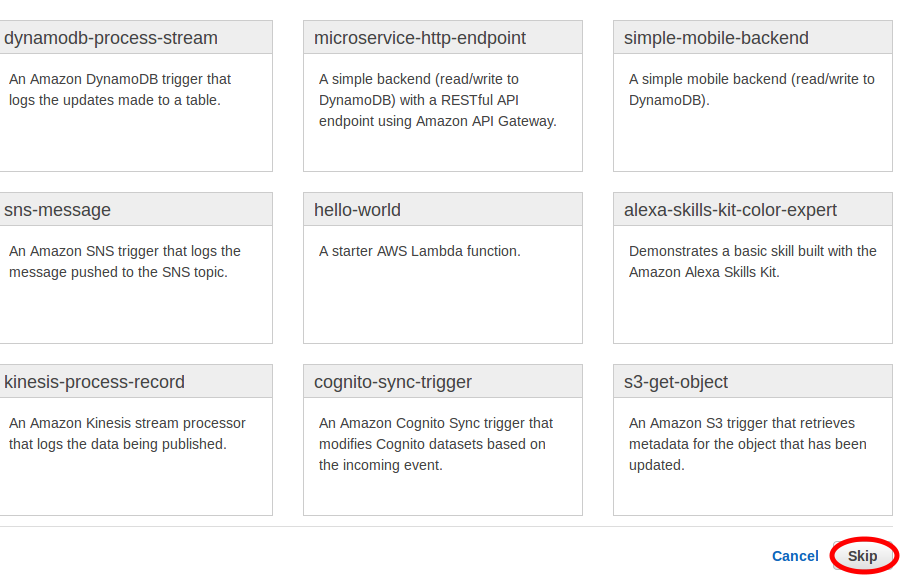
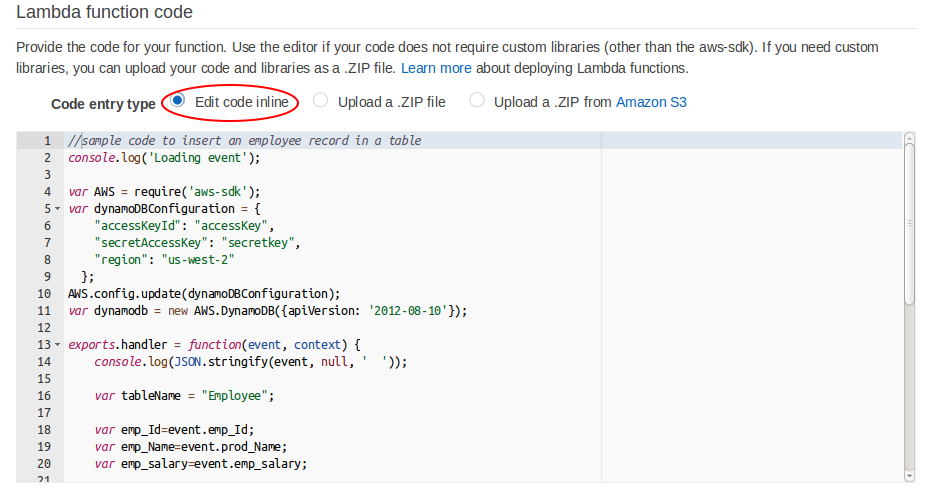
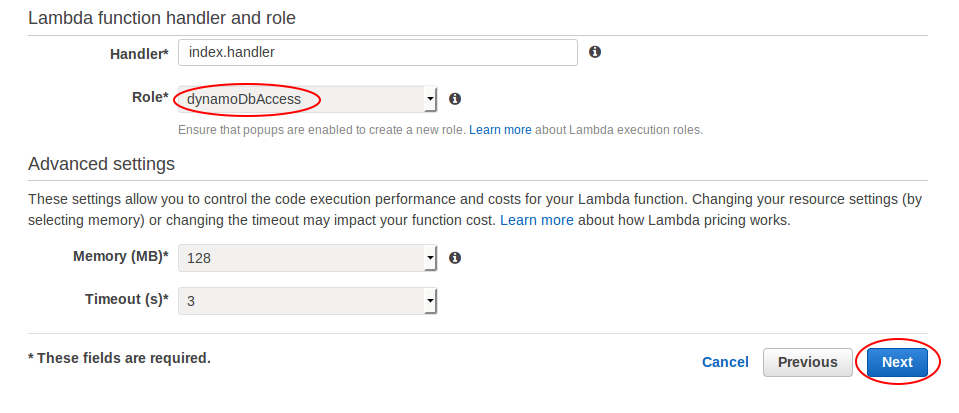
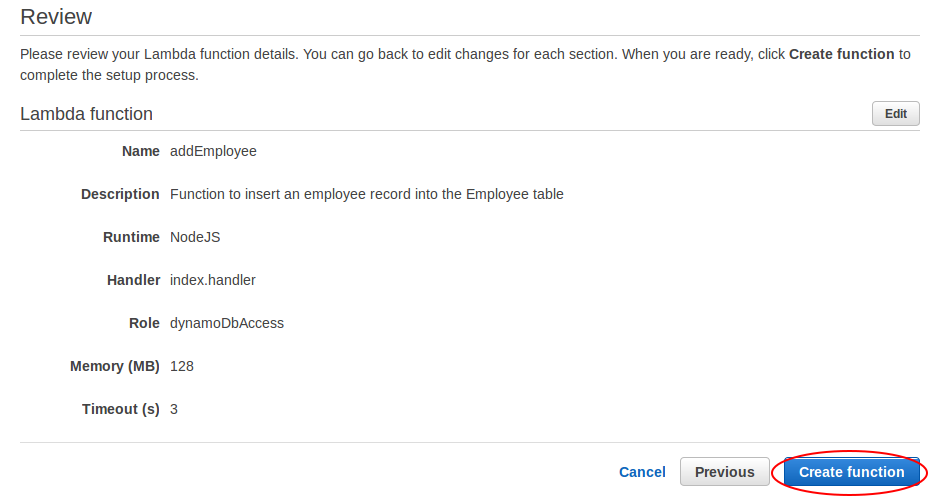
Create a node.js Lambda function called addEmployee. Use code from the following location, https://s3-ap-southeast-1.amazonaws.com/cloudthatcode/addEmployee.zip. Replace IAM access and secret keys of a user with access to write into the DynamoDB table.
[showhide type=”lambda” more_text=”For Detailed Instructions..” less_text=”Hide Details” hidden=”yes”]

[/showhide]
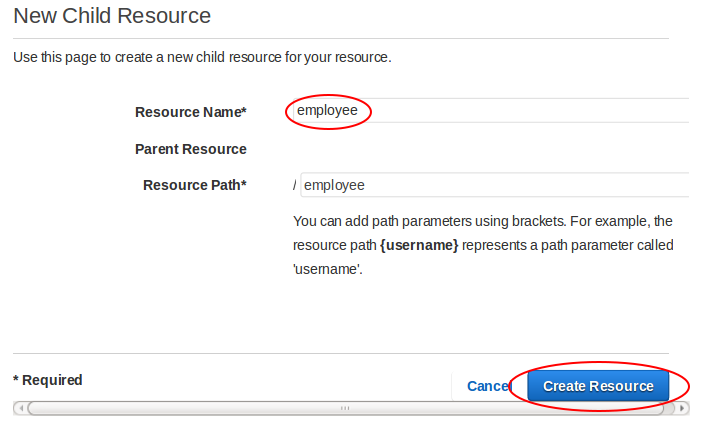
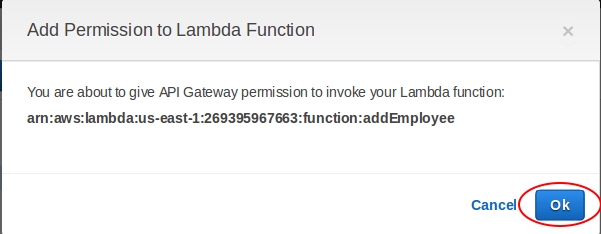
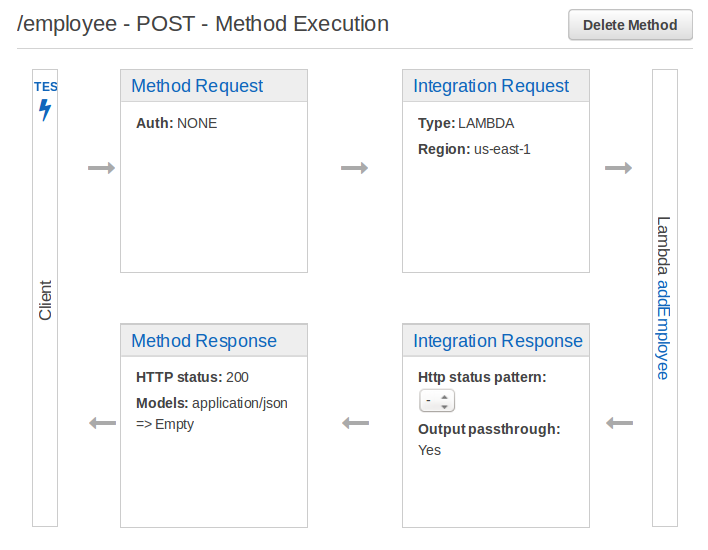
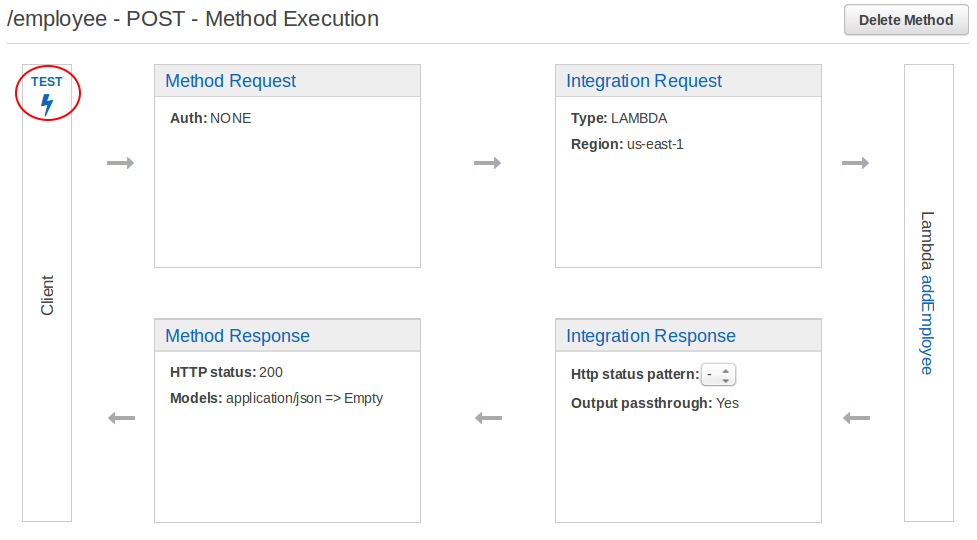
Next create an API called Employee_API, a resource called employee and create a POST Method. Use Lambda as the integration type and select the Lambda function you created earlier.
Test the API with the following values from the console.
|
1 2 3 4 5 6 7 8 9 |
{ “emp_id” : “2” “emp_Name” : “Snow” “emp_Salary” : “200000” } |
You should see the entries in the DynamoDB table.
For creating an API we need to create Resource, create POST method under the resource and utilize the Lambda function as integration type and the Deployment of API is up for launch.
[showhide type=”apigateway” more_text=”For Detailed Instructions..” less_text=”Hide Details” hidden=”yes”]
For creating API we will Create Resource, create POST method under the resource and we will provide the Lambda function as integration type and then we will Deploy the API.






[/showhide]
Test the API setup. For this Install a REST client. There are extensions for Mozilla firefox and Chrome which can be used which can be use to make REST calls. Install the one specific to your Browser. Invoke the API URL with the following values
|
1 2 3 4 5 6 7 8 9 |
{ “emp_id” : “3” “emp_Name” : “Jack” “emp_Salary” : “200000” } |
Check the DynamoDB table again for the entries.
The response from the DynamoDB is processed by the Lambda function and routed via the API Gateway.
[showhide type=”restclient” more_text=”For Detailed Instructions..” less_text=”Hide Details” hidden=”yes”]


[/showhide]
With minimal effort a REST API has been created which accepts data, which in turn gets processed by Lambda function and finally stored in a DynamoDB table. This API is ready for use and can be used in any application.
The API gateway frees the developer from maintaining infrastructure for APIs. On the whole AWS API Gateway is a beneficial package for the developer. The API gateway provides nifty features where we can create different stages for development. It also has a useful testing platform which can be used to test the calls. It also provides caching and monitoring.
In my next blog I have talked about securing your API’s in API gateway, passing Query string & headers, transforming response type and returning the custom error code.The hands on is included. If you have any queries on API gateway or you have trouble getting it setup, feel free to drop a question into the comment section below or you can also ask the questions to https://forum.cloudthat.com
Thank you.
|
Voiced by Amazon Polly |

CloudThat is a leading provider of cloud training and consulting services, empowering individuals and organizations to leverage the full potential of cloud computing. With a commitment to delivering cutting-edge expertise, CloudThat equips professionals with the skills needed to thrive in the digital era.
Our support doesn't end here. We have monthly newsletters, study guides, practice questions, and more to assist you in upgrading your cloud career. Subscribe to get them all!
Ashish
May 14, 2019
S3 Bucket where lambda code is uploaded is not accessible. Can you please share it.
https://blog.cloudthat.com/api-gateway-lambda-dynamodb/
shubham
Sep 3, 2018
no able to access s3 bucket for lambda code
Lekha
Aug 13, 2018
Cannot download the code from the URL!
sidu
Mar 2, 2018
awesome one.. very clear. need more such topic pls.
Akshata
Oct 18, 2017
Can fetch data from two tables(Dynamodb) in lambda function
Umesh
Dec 3, 2016
Is it a good idea to have ELB, just to ensure heavy traffic is equally distributed to API Gateway URL/Endpoint/URI?
mounika
Jun 2, 2016
can we connect mongoDB to lambda function in aws api gateway instead of dynmodb
Bhavik Joshi
Aug 5, 2016
Yes, you can actually do that but you need to create package with all the dependencies and upload the zip file of the package to lambda. If you need any help post question to https://forum.cloudthat.com or comment here.
Thank you.
JohnA
Oct 23, 2015
Can you integrate the RDS as you have done with the DynamoDB to use Lambda w/API Gwy?
Bhavik Joshi
Oct 26, 2015
Yes, you should definitely be able to do it. Give it a try and let me know in case you have any questions, also feel free to post your questions on https://forum.cloudthat.com
Théo
Oct 5, 2015
Hello,
I’m following exactly your tutorial but with my db fields( course_id and title ), bu t i have a error message when I test the function : Here is the error with this request body : {
“course_id”: 3,
“title”: “hello”
}. And the error message is : ” “errorMessage”: “One or more parameter values were invalid: Missing the key course_id in the item” . Can you help me please ? Have you an idea ?
Bhavik Joshi
Oct 5, 2015
have you tried giving double quotation to 3 like “3”, if it works.
Mousumi
Sep 16, 2015
How to send apiKey in rest client request?
Bhavik Joshi
Oct 5, 2015
Hi Mousami, I would be writing a blog on advanced topic related to API Gateway soon so you can find the instructions there.
Bhavik Joshi
Oct 26, 2015
Hey Mausami,
I have written a blog on how can you use API Keys, you can have a look at it here https://goo.gl/mRQUsG
Agam Shah
Aug 20, 2015
very helpful and well described each details with images…Thanks Bhavik Joshi…
Heer
Aug 20, 2015
Nice
Heer
Aug 20, 2015
Good job Mr.Bhavik joshi
Nirmal
Aug 19, 2015
awsome ..thanks for sharing something good and interesting..
Jayesh Thanki
Aug 18, 2015
Great work.
Mansi Halani
Aug 18, 2015
Nice job Bhavik
Sagarika
Aug 18, 2015
Hey you’ve described it well.
Nikunj Panchal
Aug 18, 2015
Good job…
Jack
Aug 18, 2015
Thanks buddy..
You makes it quite easy..
Jack
Aug 18, 2015
Also..awesome salary assumption for jack. Kidding 🙂 thanks.
Sandhya Gor
Aug 18, 2015
Nicely written in descriptive manner.. Anyone can easily understand.